


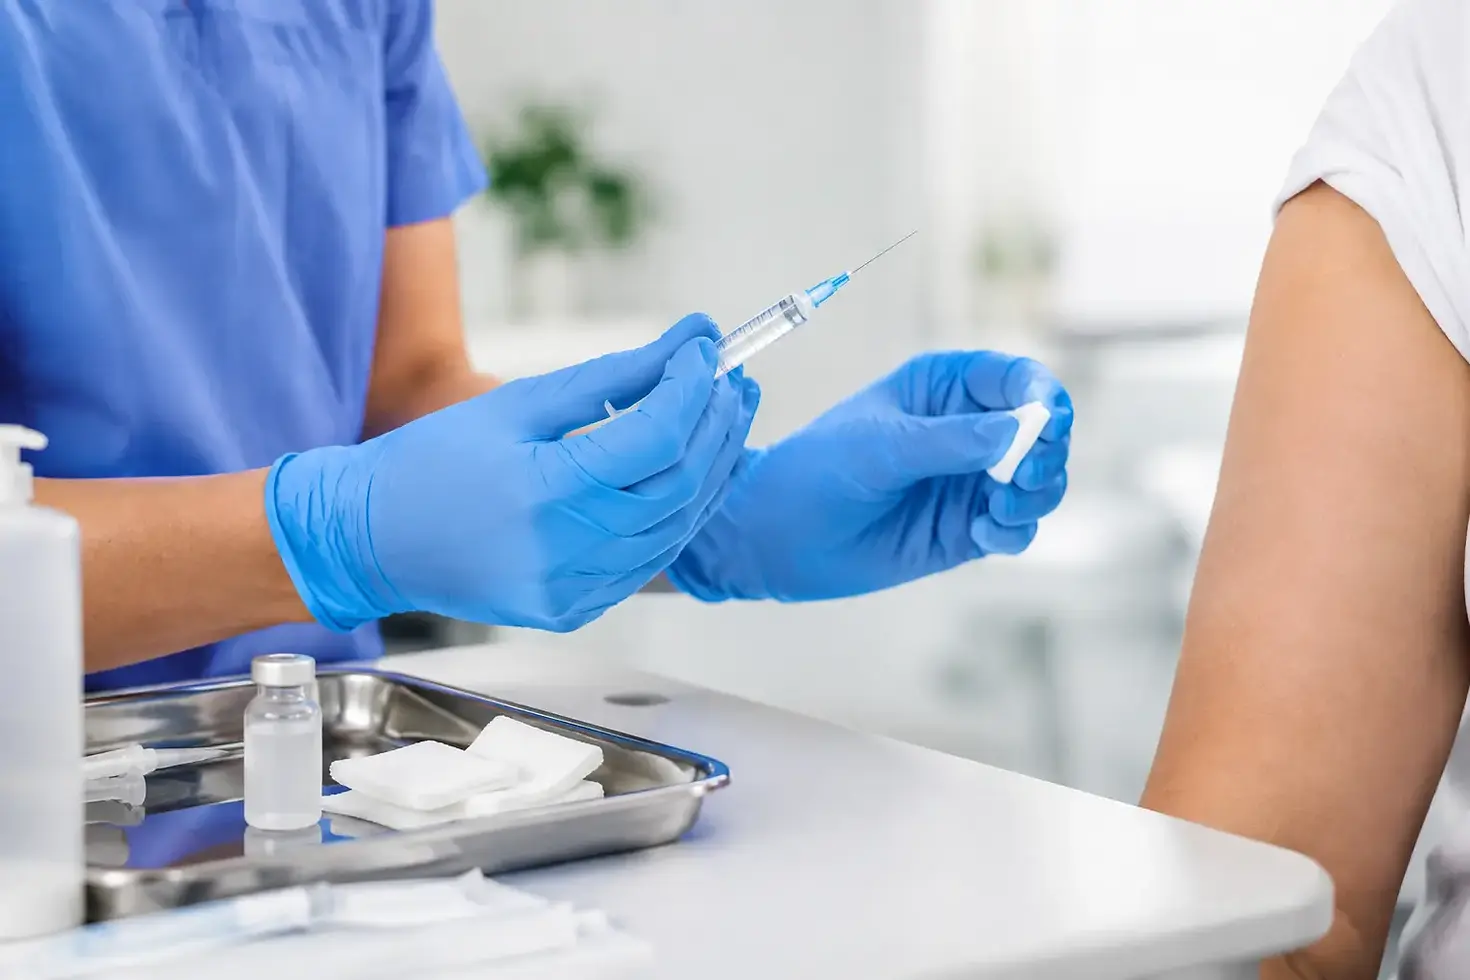
Injection Site Preparation Guide for Practitioners

A rushed injection is rarely caused by the injection itself. More often, it starts with a missing swab, an unclear treatment record, a cluttered trolley or a patient whose skin has not been properly assessed. This injection site preparation guide is designed for UK practitioners who need a dependable, repeatable process that supports safe treatment and keeps appointments running on time.
The exact technique will vary by procedure, medicine, route of administration and your organisation’s policy. Aesthetic practitioners, nurses, dentists, veterinary teams and other trained professionals should always work within their competence, follow product instructions for use and use their established clinical protocols. The principle remains consistent: prepare the patient, the environment, the site and the equipment before the needle comes near the skin.
Injection site preparation guide: start before the appointment
Good preparation begins before the patient is in the treatment chair. A clean injection site cannot compensate for an untidy workspace, interrupted workflow or equipment that has been handled unnecessarily.
Set up a designated clean treatment area and disinfect the work surface according to your local infection prevention procedure. Keep only the items required for that appointment in the immediate field. This reduces clutter and makes it easier to identify anything that is damaged, expired, opened or unsuitable before treatment begins.
Check that your sharps bin is assembled correctly, within reach and not overfilled. It should never be placed where you need to carry an exposed sharp across the room. Have the required syringe and needle sizes ready, along with appropriate skin-preparation products, gloves where indicated, gauze or swabs, dressings if required, and emergency equipment required by your setting.
This is also the right time to check expiry dates, packaging integrity and batch details. For clinics that use several needle and syringe types each day, a consistent stock routine prevents last-minute substitutions. The most suitable product is not simply the one available in the drawer - it must be appropriate for the intended procedure and used in line with its instructions.
Confirm the patient, procedure and site
Before preparing the skin, confirm the patient’s identity using the process required in your practice. Review the planned procedure, prescribed product or treatment plan, route, dose or volume where relevant, allergies, consent and any previous reactions.
Then assess the intended site in good lighting. The skin should be intact and suitable for treatment. Do not inject through skin that is visibly dirty, broken, inflamed, bruised, infected, scarred in a way that affects the procedure, or otherwise compromised. For repeated injections, site rotation may be necessary to protect tissue and maintain treatment quality. The correct approach depends on the treatment being given and should be defined in your protocol.
For aesthetics professionals, assessment should also include signs that may affect both safety and the expected result, such as active lesions, unusual swelling, recent trauma or previous treatment in the area. If there is doubt, pause rather than trying to make an unsuitable site workable. Rescheduling or seeking appropriate clinical advice is preferable to creating avoidable risk.
Explain what you are doing in plain language and position the patient safely and comfortably. A patient who feels faint, tense or unable to maintain their position can turn a straightforward procedure into a difficult one. Make sure they understand what will happen and know to tell you immediately if they feel unwell.
Hand hygiene and clean technique are not optional extras
Perform hand hygiene at the correct point in your workflow and use gloves in accordance with your risk assessment and local policy. Gloves do not replace hand hygiene. They can also create false confidence if clean equipment, drawers, phones or other surfaces are touched after they have been put on.
Use aseptic non-touch technique where appropriate. In practical terms, this means protecting key parts from contamination: for example, the needle, syringe tip, vial access point and prepared injection site. Once prepared, avoid touching the area that will be penetrated. If it is touched accidentally, treat the site as contaminated and prepare it again in accordance with your procedure.
Avoid preparing several patients’ injection sites at once. Even in a busy clinic, keeping each patient’s consumables and documentation separate helps prevent selection errors and cross-contamination. A well-organised tray or procedure pack can make this easier without adding unnecessary steps.
Prepare the skin correctly, then let it dry
Skin preparation is not identical for every injection. Some procedures, settings and medicines have specific requirements, while others may not require routine antiseptic use when skin is visibly clean. Follow the policy and instructions that apply to your procedure rather than relying on habit alone.
Where an alcohol-based skin antiseptic is indicated, use a single-use product and apply it with enough contact to cover the intended area. Work methodically and do not return a used swab to its packet, tray or work surface. The goal is to reduce microorganisms at the entry point, not merely to make the skin look clean.
The drying stage matters. Allow the antiseptic to air dry completely before injection. Do not blow on the site, fan it with paperwork or wipe it dry with gauze. Injecting through wet alcohol can cause unnecessary stinging and may reduce the effectiveness of the preparation. It can also create a preventable distraction at the point where focus should be highest.
Once the site is dry, do not palpate it again unless your clinical procedure specifically requires it and you can do so without compromising asepsis. If re-palpation is necessary, follow your approved method, which may include using a sterile barrier or re-preparing the site.
Make the injection process safer, not just quicker
Have the sharps bin close enough to dispose of the needle immediately after use. Do not recap, bend, break or manually manipulate used needles unless a specific approved device or protocol requires it. The safest sharp is one that goes directly into a suitable sharps container at the point of use.
Use only single-use sterile needles and syringes where indicated, and never reuse a device intended for one procedure or one patient. Check that safety-engineered devices are used correctly before the appointment begins. A safety feature that staff are unfamiliar with can be less useful than expected when the room is busy.
After the injection, apply gentle pressure or an appropriate dressing if required by the procedure. Observe the patient for the period set out in your protocol, especially where there is a known risk of immediate reaction, dizziness or bleeding. Dispose of used consumables correctly, remove gloves when used, perform hand hygiene and clean the treatment area before preparing for the next patient.
Documentation is part of preparation and follow-up, not an administrative afterthought. Record the details required by your setting, which may include the site used, product, batch or lot number, expiry date, dose, route, practitioner, consent and any adverse event or aftercare advice. Clear records protect continuity when another member of the team sees that patient later.
Common preparation failures and how to avoid them
Most errors are predictable. They happen when a practitioner is interrupted, supplies are scattered, the site is not given time to dry or the correct needle has run out. Building a repeatable sequence is more reliable than trying to remember every detail under pressure.
A few simple controls make a real difference:
Keep procedure consumables in clearly labelled, accessible storage and check minimum stock levels routinely.
Separate clean stock from opened or damaged packaging, and remove expired products promptly.
Prepare one patient and one procedure at a time, particularly when multiple products or treatment areas are involved.
Keep a documented response plan for needlestick injuries, fainting, allergic reactions and other foreseeable incidents.
Review incidents and near misses without blame, then adjust the setup, training or stock process that allowed them to happen.
There is a balance to strike. Over-preparing a treatment room with every possible item can increase clutter and handling; under-preparing leads to interruptions and unsafe substitutions. The best setup contains what is needed for the planned procedure, plus the emergency items and contingency supplies required by your professional setting.
Build reliability into your consumable supply
Injection safety depends on more than clinical skill. It depends on having trusted, fit-for-purpose consumables when your appointment book demands them. A clinic should not have to choose between delaying treatment and using an unfamiliar product because essential stock was not reordered in time.
Set par levels for your highest-use items, taking account of delivery lead times, busy periods and the procedures you offer. Review usage after promotions, seasonal changes or the addition of a new clinician. Keep compatible syringes, needles, skin-preparation products and sharps disposal items together in your ordering process, because a procedure is only as ready as its missing component.
My Medical Supplies supports professional customers with dependable branded consumables, practical stock support and help sourcing harder-to-find items when time is tight. The aim is straightforward: help you maintain safe, consistent care without your working day being interrupted by preventable shortages.
A calm, well-prepared injection is visible to patients. They notice the clean workspace, the clear explanation and the practitioner who does not need to leave the room to find a swab or sharps bin. Those small signs of control build confidence long before treatment begins.


Comments